
You need to have a place where you can do your work this term.There are a few options available to you. You only need to do the one that works best for your situation. If you want the simplest setup, then just use Cloud 9 from Amazon Web Services, but then you need a credit card to sign up. If you want more control, and to work locally, then install to your OS.
All of the coursework is set up to use Rails 6.0.3.1 using Ruby 2.6.3 – use a combo similar to this
The Better, but More Complex Solution
You will learn more with this approach. The best solution is to install ruby and rails on your own laptop or desktop. This works for Linux and Mac OS. If you’re one Windows, then you need to use the Windows Subsystem for Linux. Look at Go Rails (use the ‘Guide’ link at the top of the page) to guide you through the appropriate steps for developing on Linux Ubuntu, or Mac OS. The Pragmatic Studio folks also offer this guide to installing ruby and rails on Mac OS.
Some pointers that might help with the install of Rails
With Rails 6 there are some dependencies that you need to resolve before you can build and run the application. You need to install these componenents, and then it should all work for you.
a) Go get NVM from https://github.com/nvm-sh/nvm and install it for your operating system.
b) With NVM in place you can now use it to install your desired version of NodeJS, or just use the current one. Then you need to install Yarn. You can follow the steps and options for this on this site. I know the page says MacOS, but as you’re running everything from a terminal it should work on any platform.
You can double-check your work by looking at the Rails Guide to ‘getting started’ which has commands for doing the above in the terminal.
c) Now when you create a new Rails app it should all work. If not, then you can start by installing webpacker, which is what all of this supports with this command: rails webpacker:install
You can only do Ruby on Rails if you either partition your machine to have both Windows and Linux, or if you use the Windows Subsytem for Linux, or use a virtual machine. Each of them has their benefits, and have been used by students in the past.
Windows 10 has the ‘Windows Subsystem for Linux’, which lets you run Linux under Windows. You need to install a Linux distribution into this, and then install Ruby and Rails there.This is a good option if you’re on Windows.There is now (Feb 2020) a new WSL2, which is better than the old one. Go look at how to use that using this guide and links to videos.
Just follow one of these guides described by Scott Hanselman on installing Ruby and Rails in the Windows Subsystem for Linux.
If you go with this option, then you can run commands in Linux, and edit files in Windows. You can do a bit in both.
Install/activate the subsystem and install Rails to get started you can stop after you have everything installed. You don’t need to follow on with Azure.
Install and config other components in Window Subsystem in Linux – modifying colours, and terminal applications
Configure your system for coding and editing files in Windows or Linux – this is useful if you’re working in both environments
After you install these, then skip down to the section below on Ruby and Gems to Install.
Do not try to develop Rails applications using Windows. This starts out ok, but doesn’t work when you find that components won’t compile to your platform later. Developing Rails on windows is not a good idea. It will add to your stress when things don’t work.
Partition Your Drive for both Windows and Linux
You can follow the Ubuntu guide for installing Linux into some of the free space you might have on your drive. Then you can boot into either Windows or Linux as you wish. With this option you are either in windows or linux, but not both at the same time.
Ruby and Gems to Install
Once you have Ruby and Rails installed you now can start to add the other useful parts. This should start with rbenv, which lets you set up your applications in virtual environments.
Open the console and follow these steps to install Ruby:
cd to .rbenv
git pull
cd to .rbenv/plugins/ruby-build
git pull
cd ..
cd ..
cd ..
(you should now be back at the root directory where you started and see .rbenv if you type ls -al)
rbenv install -l
(this will give you a long list of possible ruby versions and you want to scroll back to see ruby 2.6.x or whatever is latest to use for the next step)
rbenv install 2.5.1 (or whatever version you want – this will take a bit of time to do)
rbenv global 2.5.1 (or whatever you used in previous step)
ruby -v (should now show your new version)
Now you can install the gems you want for Rails development:
gem install rails -v 6.0.3.1
gem install rspec
gem install rspec-rails
gem install cucumber
gem install cucumber-rails
gem install sqlite3
gem install capybara
Now we need to install and configure Git.
Go to to GitHub and follow the instructions to install and then configure Git.
The Cloud Solution
The simplest solution to using Ruby on Rails is to use Cloud 9, which means you only need a web browser to do everything. The credit card information they request for registration is there to prevent spam at their end, and you should not be charged for its use. You should be able to use it freely.
The details for setting up Cloud 9 are explained in chapter one of the Rails Tutorial, which you should complete next as it covers all that you need to know to get started. This takes a bit of time to do, so you might not finish it in the practical.
RailsTutorial uses Cloud 9 too and will guide you through its usage. If you go with the simple solution, then skip down past the more complex solutions to the section on Git before creating a simple ‘boatyard’ app, and learn how to deploy your app to Heroku.
Use Ruby 2.6 and Rails 6.0.3.1 this term
We want to use Rails 6 this term. Check that Cloud 9 is set to create new applications using Rails 6.
If you already have ruby and rails installed, then you can update your ruby gem libraries and be good to go. First, check that you have the most recent version of RubyGems by using the command ‘gem update –system’ to update gem itself, then use’gem update’ to update all of your currently installed gems to their latest version. Then move down to the section on Git before creating a simple ‘boatyard’ app, and learn how to deploy your app to Heroku.
Git is also needed for working with Ruby and Rails
Git is used for version control, and lets you deploy your applications onto Heroku. Follow the instruction here for your platform.
Be sure to also set up you ssh keys too, as you’ll need these later. You can find more about using Git at https://git-scm.com/book/en/v2, and you can also read the details of deploying to Heroku with Git.
Testing Your Rails Solution by building a bigger app and deploying it to Heroku
To ensure that all of this works correctly we should now create a simple app. We’ll do this by creating a boat yard, or marina of boats.
Open a terminal and cd to where you want to keep all of your Rails applications. I keep mine under a folder called ‘RailsApps’ so they’re all in one place.
Move into this space in a terminal, and then enter the command:
rails new boatyard
This will generate a new directory with many files in it.
Move into the new ‘boatyard’ folder with your terminal. We have lots of folders and files here that will help us keep our application development organised so that it’s easier to maintain.
Next we want to create some boats using the built in scaffolding of Rails. We can use one command to build a boat model, connect it to a controller, and associate it those with a view to display on the page as well. Type out the following into your terminal:
rails generate scaffold Boat name owner harbour
This will again generate more files for you, which you should see as being part of the boat objects.
The next step is to tell the app about the new database information for our boatyard objects with the command
rails db:migrate
This should create the ‘boats’ table.
We can now start the server and see our work with the command
rails server
This should tell you that Puma is starting in single mode and is listening on tcp://0.0.0.0:3000
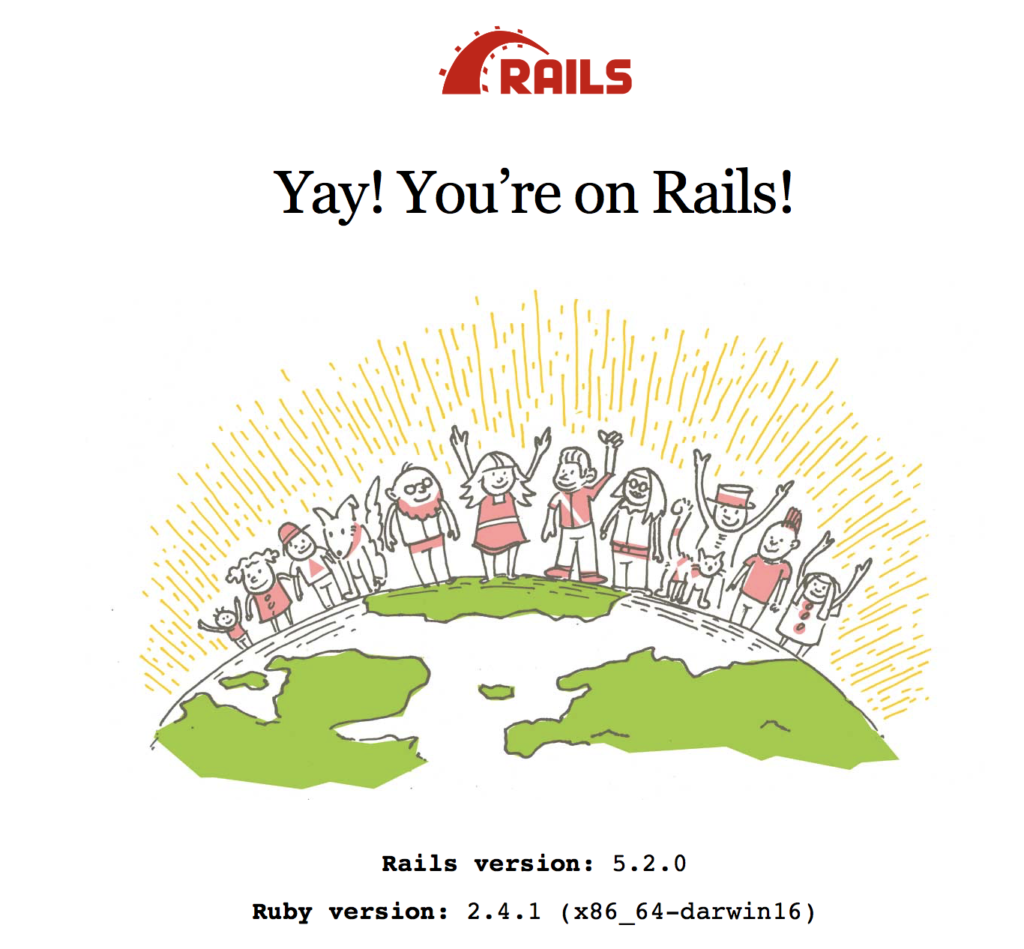
Open your browser and go to http://localhost:3000. Hang on, that’s not your app is it? All those happy people around the globe? This is the ‘standard’ welcome page to show your app is ready and running. We haven’t created a ‘home’ page for the app.We have only created a page for the boats. To see the ‘boats’you need to go to http://localhost:3000/boats where you can add a ‘new boat’. Fill in the form and create a boat. See what happens if you create a boat without filling in any details.
This should all work. It’s not pretty, but it works and helps you quickly create a website. You can shut down the server with the command ‘ctrl-c’ which you do by pressing down both the’control’, or ‘ctrl’ key and the ‘c’ key at the same time.
Pushing your boatyard to Heroku
In order to push our application to Heroku, we need to put it into a Git repository. Heroku only accepts applications as Git repos. For now just follow the commands to ensure that you have everything set up correctly. We’ll go over details in a later session.
We also need to change our Gemfile before we can push the application to Heroku because it uses Postgreql instead ofSqlite3 for the database.Your gemfile details the gems used in your application, and as we want to use Postgresql for production, we need to include that in the file. Open boatyard/gemfile and add these lines:
group :development, :test do
 gem 'sqlite3'
 gem 'byebug', platform: :mri
end

group :production do
 gem 'pg'
end
Also comment out any reference to sqlite3 in the main body of the Gemfile. Then copy that and move it to the ‘development and test’ sections next to ‘byebug’ gem, then save the file.
Step 4) You need to run bundle install to add the gem. This might take a while.
bundle install
Given you’re still in the boats directory use
git init
git add .
git commit -m ‘my first commit’
This should set up your repo, fill it, and then commit the code to it, and show your local git repository working fine.
Sign up for an account at http://heroku.com and then follow the instructions at https://devcenter.heroku.com/articles/getting-started-with-ruby#set-up. If you’re on the WAD-2019 image in VirtualBox, then you have heroku installed. If you’re on cloud 9, and heroku isn’t already installed, then use the ‘other installation methods’ for installing the CLI. The CLI install instructions work better than the one’s for Snap.
If you don’t have an ssh key in your .ssh directory, (which you probably don’t), then you will need to create one using the details at github. This is an extra layer of security over and above your username/password combo.
Upload the ssh key you created for use with Git when prompted.NOTE: when uploading your ssh key supply your heroku password when prompted for a password.
You may need to supply your public ssh key manually in order for this to work. Your ssh keys will be under <youraccount>./ssh then you need to use this command inside a Git bash shell after you’ve used to cd to get to the .ssh directory:
heroku keys:add id_rsa.pub
It will ask for your email and Heroku password and then upload the file.
You can now create your app on the heroku server and then upload your app. Be patient during this phase as you are working remotely so give the servers time to respond to your commands.
Use the ‘heroku create’ command inside the boatyard directory to create your app on the server and get its default name. You should see that heroku adds a remote repository to your git repository for remote deployment and tells you what the URL will be.
If the heroku create command doesn’t add your remote repository details, then you can run the command yourself with
git remote add herokugit@heroku.com:your-app-name.git
you can now push the app to heroku with
git push heroku master
Do this now and you’ll see a quick message about adding an RSAhost for an IP address …. and then details about writing your objects to the repository and then it will configure the gems it needs to run your Rails application. This may take a bit of time, so be patient. When it is done it will launch your application and tell you the URL it’s it running at.
If you go to the URL, you’ll see the ‘We’re sorry, but something went wrong message’ as you’ve not configured the database yet.
We need to tell heroku to create our tables by using these commands:
heroku rake db:create
heroku rake db:migrate
You will probably have a message that some weird database name already exists after the first command, and the second command should show your tables being created. If you now reload the page where your app is, then it should appear there correctly.
Extending the practical
If you still have time, then you can also explore these other changes with the boatyard to become more familiar with Rails.We’ll cover this later too, of course. The main documentation for modifying views is found in ‘Layouts and Rendering Guide‘ for Rails.
The main folder to explore is the ‘boatyard/app’ directory,which is where you’ll find the ‘views’ folder, which holds your’boats’ and ‘layouts’ views.
The ‘layouts/application.html.erb’ file is applied to all viewsin the browser so changes here impact the whole site. You might want to show the name of the whole site across all pages.
The ‘boats’ folder holds the ‘index.html.erb’ file, which is what’s shown when you see the list of all boats. It also holds the show.html.erb file, which is used to display a single boat.You could change how boats are displayed, and maybe add more detail of how single boats are displayed.