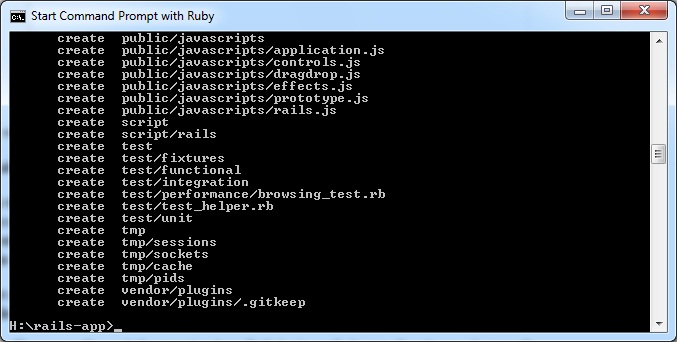
WAD Practical: Ruby on Rails - BasicBy the end of this practical you should be familiar with the basics of building and developing a website using the Ruby on Rails framework. After your hand-on experience, we will provide you some link of related background at the end. As we go through the practical remember that Rails uses a Model, View, Controller design pattern with the models tied to database tables, the controllers handle the 'logic' of the application, and the 'views' determine how pages appear in browsers. This means that you edit the controller to set variables in a method with the @ symbol, such as @mybook, which you can then use in the view of the same name as the method in the controller. NoticeIn this practical, all demonstrations are shown under the Windows platform. However, you should use Rails installed on linux or Mac OS X in previous practicals. Instead of using windows command console, you will use Terminal in linux or Mac OS X. You should also notice that you may get slightly different results when executing Rails commands compared to the results shown in this practical. For example, files generated and the source code of some files, because you may use a later version of Rails (and Ruby). BasicsBefore we go too far we should get some basic concept of how to develop in Rails and what different components do, and how they interact with each other. We need two separate command prompts when working with Rails. One is for running the webserver, and the other is for issuing commands to that run various scripts. First, create a directory to hold your application, such as 'rails-app'. Then go back to the command console and use 'cd rails-app' to change directory to this new directory. Then cd to the directory with the other console too. Both consoles should now be in the new directory of 'rails-app'. Step 1) Creating an Empty Rails Web Application Rails is both a runtime web app framework and a set of helper scripts that automate many of the things you do when developing a web application. In this step, we will use one such helper script to create the entire directory structure and the initial set of files to start our cookbook application. 1. Start Command Prompt and navigate to where you want to create this cookbook web application (first type h: and then return, then type cd rails-app, assuming that you use H:\rails-app). Run the command:
Figure 1. Creating Rails application This will create a cookbook subdirectory containing a complete directory tree of folders. A Rails Application's Directory Structure Rails tries very hard to minimize the number of decisions you have to make and to eliminate unnecessary work. When you used the rails helper script to create your empty application, it created the entire directory structure for the application (Table 1). Rails knows where to find things it needs within this structure, so you don't have to tell it. Remember, no configuration files! Most of our development work will be creating and editing files in the H:\rails-app\cookbook\app subdirectories. Here is a quick rundown of how to use them.
Table 1. A newly created Rails application directory
Testing the Web ServerA Rails web application can run under virtually any web server, but the most convenient way to develop a Rails web application is to use the built-in WEBrick web server. Let's start this web server and then browse to our cookbook application. Setp 2) Start web server.
to start the server (Figure 2). If there is a problem, if could be the case that SQLIte3 is not installed; you could install it by typing the following in the Command Prompt: "gem install sqlite3 -http-proxy=http://proxy.abdn.ac.uk", and then press Enter/Return.
Figure 2. Starting the WEBrick server Leave the command window open and the web server running, as we will be using it as we proceed.
Configuring a DatabaseJust about every Rails application will interact with a database. The database to use is specified in a configuration file, config/database.yml. If you open this file in a new Rails application, you’ll see a default database configuration using SQLite3. The file contains sections for three different environments in which Rails can run by default:
Step 3) Configuring an SQLite3 Database Rails comes with built-in support for SQLite3, which is a lightweight serverless database application. While a busy production environment may overload SQLite, it works well for development and testing. Rails defaults to using an SQLite database when creating a new project, but you can always change it later. Here’s the section of the default configuration file (config/database.yml) with connection information for the development environment:
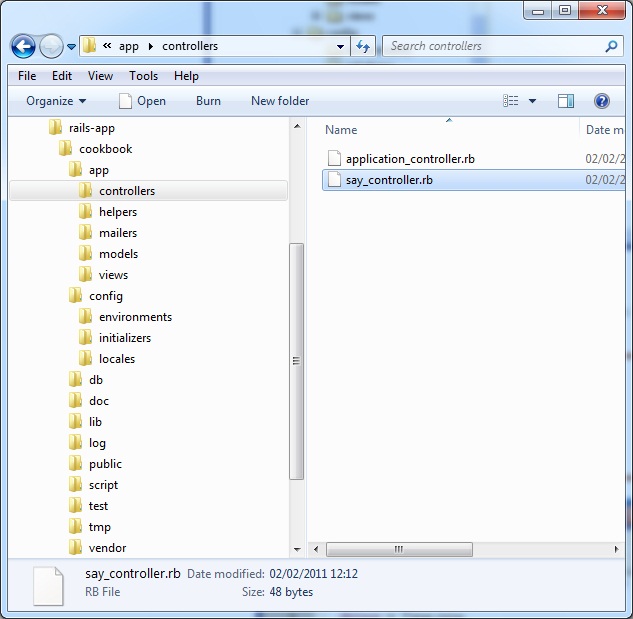
Controllers and URLsIt is important to understand how controllers work in Rails and how URLs map into (and execute) controller methods. Controller classes handle web requests from the user. The URL of the request maps to a controller class and a method within the class. How does this work? Leave your existing command window open with the web server running, open a second command window, and navigate to the application's base directory, h:\rails-app\cookbook. We will use another Rails helper script to create a new controller class for us. In the command window. Step 5) cd into the 'cookbook' directory and issue this command: Figure 4. The cookbook controller directory This will create a controller under cookbook/app/controllers called say_controller.rb. Open it up in an editor and add a new method called 'hello' as shown here in bold:
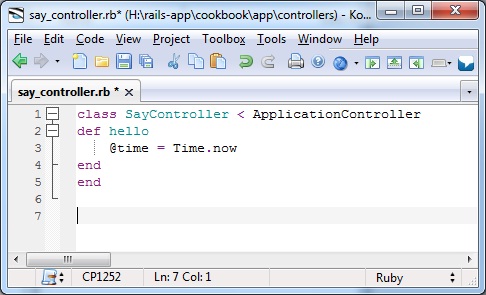
class SayController < ApplicationController Figure 5 . Editing SayController The @ symbol identifies an instance variable called 'time' and we set it to the value of the current time. If we set it here in the method, instead of in the web page, then any page that calls this method, can use the variable, and we have less coding to do if we need to make any changes in the future. Step 6) The say controller method 'hello' needs to be tied to a hello.html.erb view under cookbook/app/views/say. So create a hello.html.erb file like the one below in the say directory just mentioned.
<html><head> The <%=@time %> bit sets the code here to evaluate to the value of the expression. Step 7) Now, you have to tell Rails where your actual home page is located. Open the file config/routes.rb in your editor. This file contains many sample routes on commented lines, and one of them actually shows you how to connect the root of your site to a specific controller and action. Find the line beginning with match ':controller, uncomment it and change it like the following:
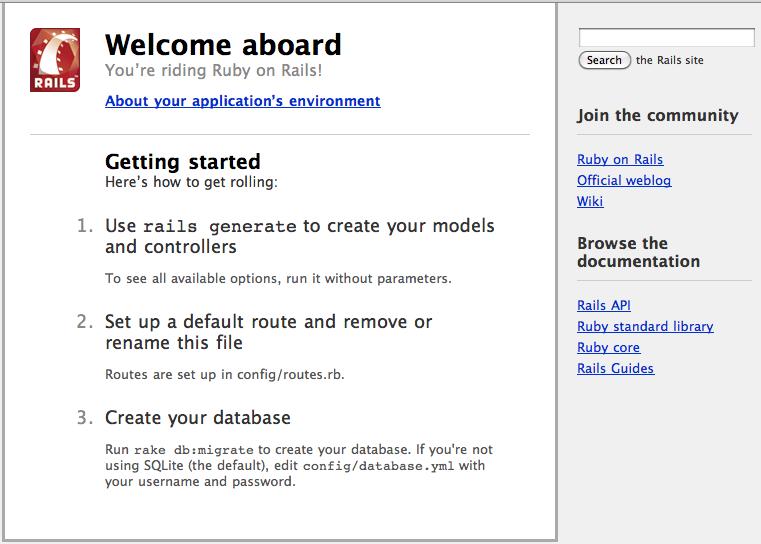
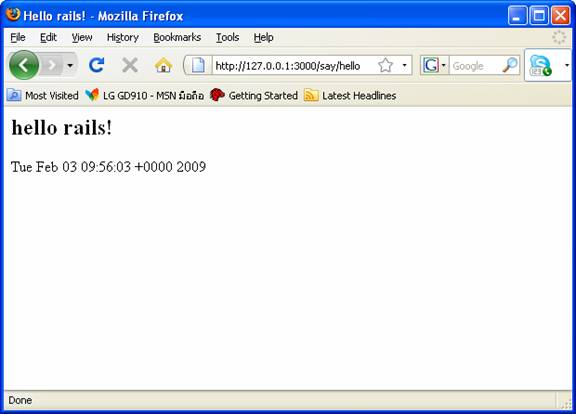
Cookbook::Application.routes.draw do Step 8) Refresh your browser and browse to http://127.0.0.1:3000/say/hello. You should now see your webpage says 'hello rails' and displays the current date and time. Nothing fancy, but something dynamic, which you didn't do much to develop. Figure 6. The result of the hello method Step 9) Next, add this bit of code in bold to the hello.html.erb file, which will change the color of the text depending upon the time of the day.
<html><head> The code between the <style> tags are for CSS of course, which we then tie into an if/else statement. Notice that the if/else needs an 'end' statement to conclude. We also set the @time variable to a local one. The local variable 't', which is time has the variable 'sec' which is the seconds of the time. You can also use 'min' to acquire the minutes of the hour, but seconds flow faster so you can refresh the page every few seconds and see a change. Notice how we can then use the modulo method on the sec element to find the remainder of the seconds divided by two, which will be either 1 (odd) or 0 (even). The last new code is just there to show the change in the time as a change in the CSS that colours the paragraph. Step 10) is to add a 'hi' method to the Say controller, and a corresponding 'hi.html.erb' page too in the 'cookbook/app/views/say' directory. Put this code in bold in the SayController class.
class SayController < ApplicationController The new code creates a method with the instance variable name, which we've set to the params object and the :name symbol. This will allow us to set a form on a page, which can pass the 'name' input into the 'hi' method, which can then be used in pages using the hi method. Step 11) Put this code into the file 'hi.hmtl.erb' file in the app/views/say directory, which you'll need to create.
<html><head> As you can see this doesn't retrieve the variables from the form as we would have had to do in PHP, but does give us access to the @name variable as part of the goodbye method. You can also see how to link the page back to the 'hello' page with the :action=> symbols. The link_to part determines what text will be displayed, while the action=> part determines what method is called, and thus what page is displayed. Step 12) Lastly, we need to add a bit of new code to the bottom of the hello.html.erb page in order for this to work. This sets up the form.
<p class="Line<%=odd_or_even%>">What's my
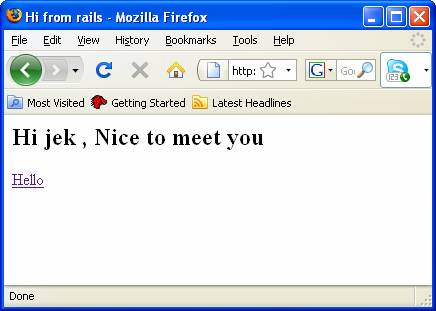
colour? Notice how Rails knows what to do with forms and looks for the action and the parameter that it's supposed to look for, and then, as it's tied to the controller method, knows what to do with the data from the form. Now you should be able to reload the hello.html.erbl file and fill in the form and have the application say hi. Figure 7. The result of the hi method Now we've done the basics and can fill in forms and do links to other pages, we can now move on to a more complex example. Knowing a big more backgroundNow that you have some first hand experience with Rails, you are now ready to find out a bit more background on Rails here. Note that you might want to compare what you read there with what you just did in your practical. If you have time1. Develop the temperature converter mentioned in Page 32 of your course notes. 2. Develop the address book mentioned in Page 33 of your course notes.
|